We are closed this Easter bank holiday weekend. Any orders placed over the weekend will be processed when we return on Tuesday.

How to Guide - Make Your Own Hood
18 January 2024A hood is a versatile winter accessory that offers protection from the cold for the neck and head, to keeping you warm in the winter months. It can be worn pulled up as a hood and left down as a snood, and looks great styled over jumpers and under jackets. Luckily a hood is also a fairly fast and straightforward accessory to make yourself. We have compiled the following guide to help as a start point, but the opportunities to adapt and personalise these hoods is endless.
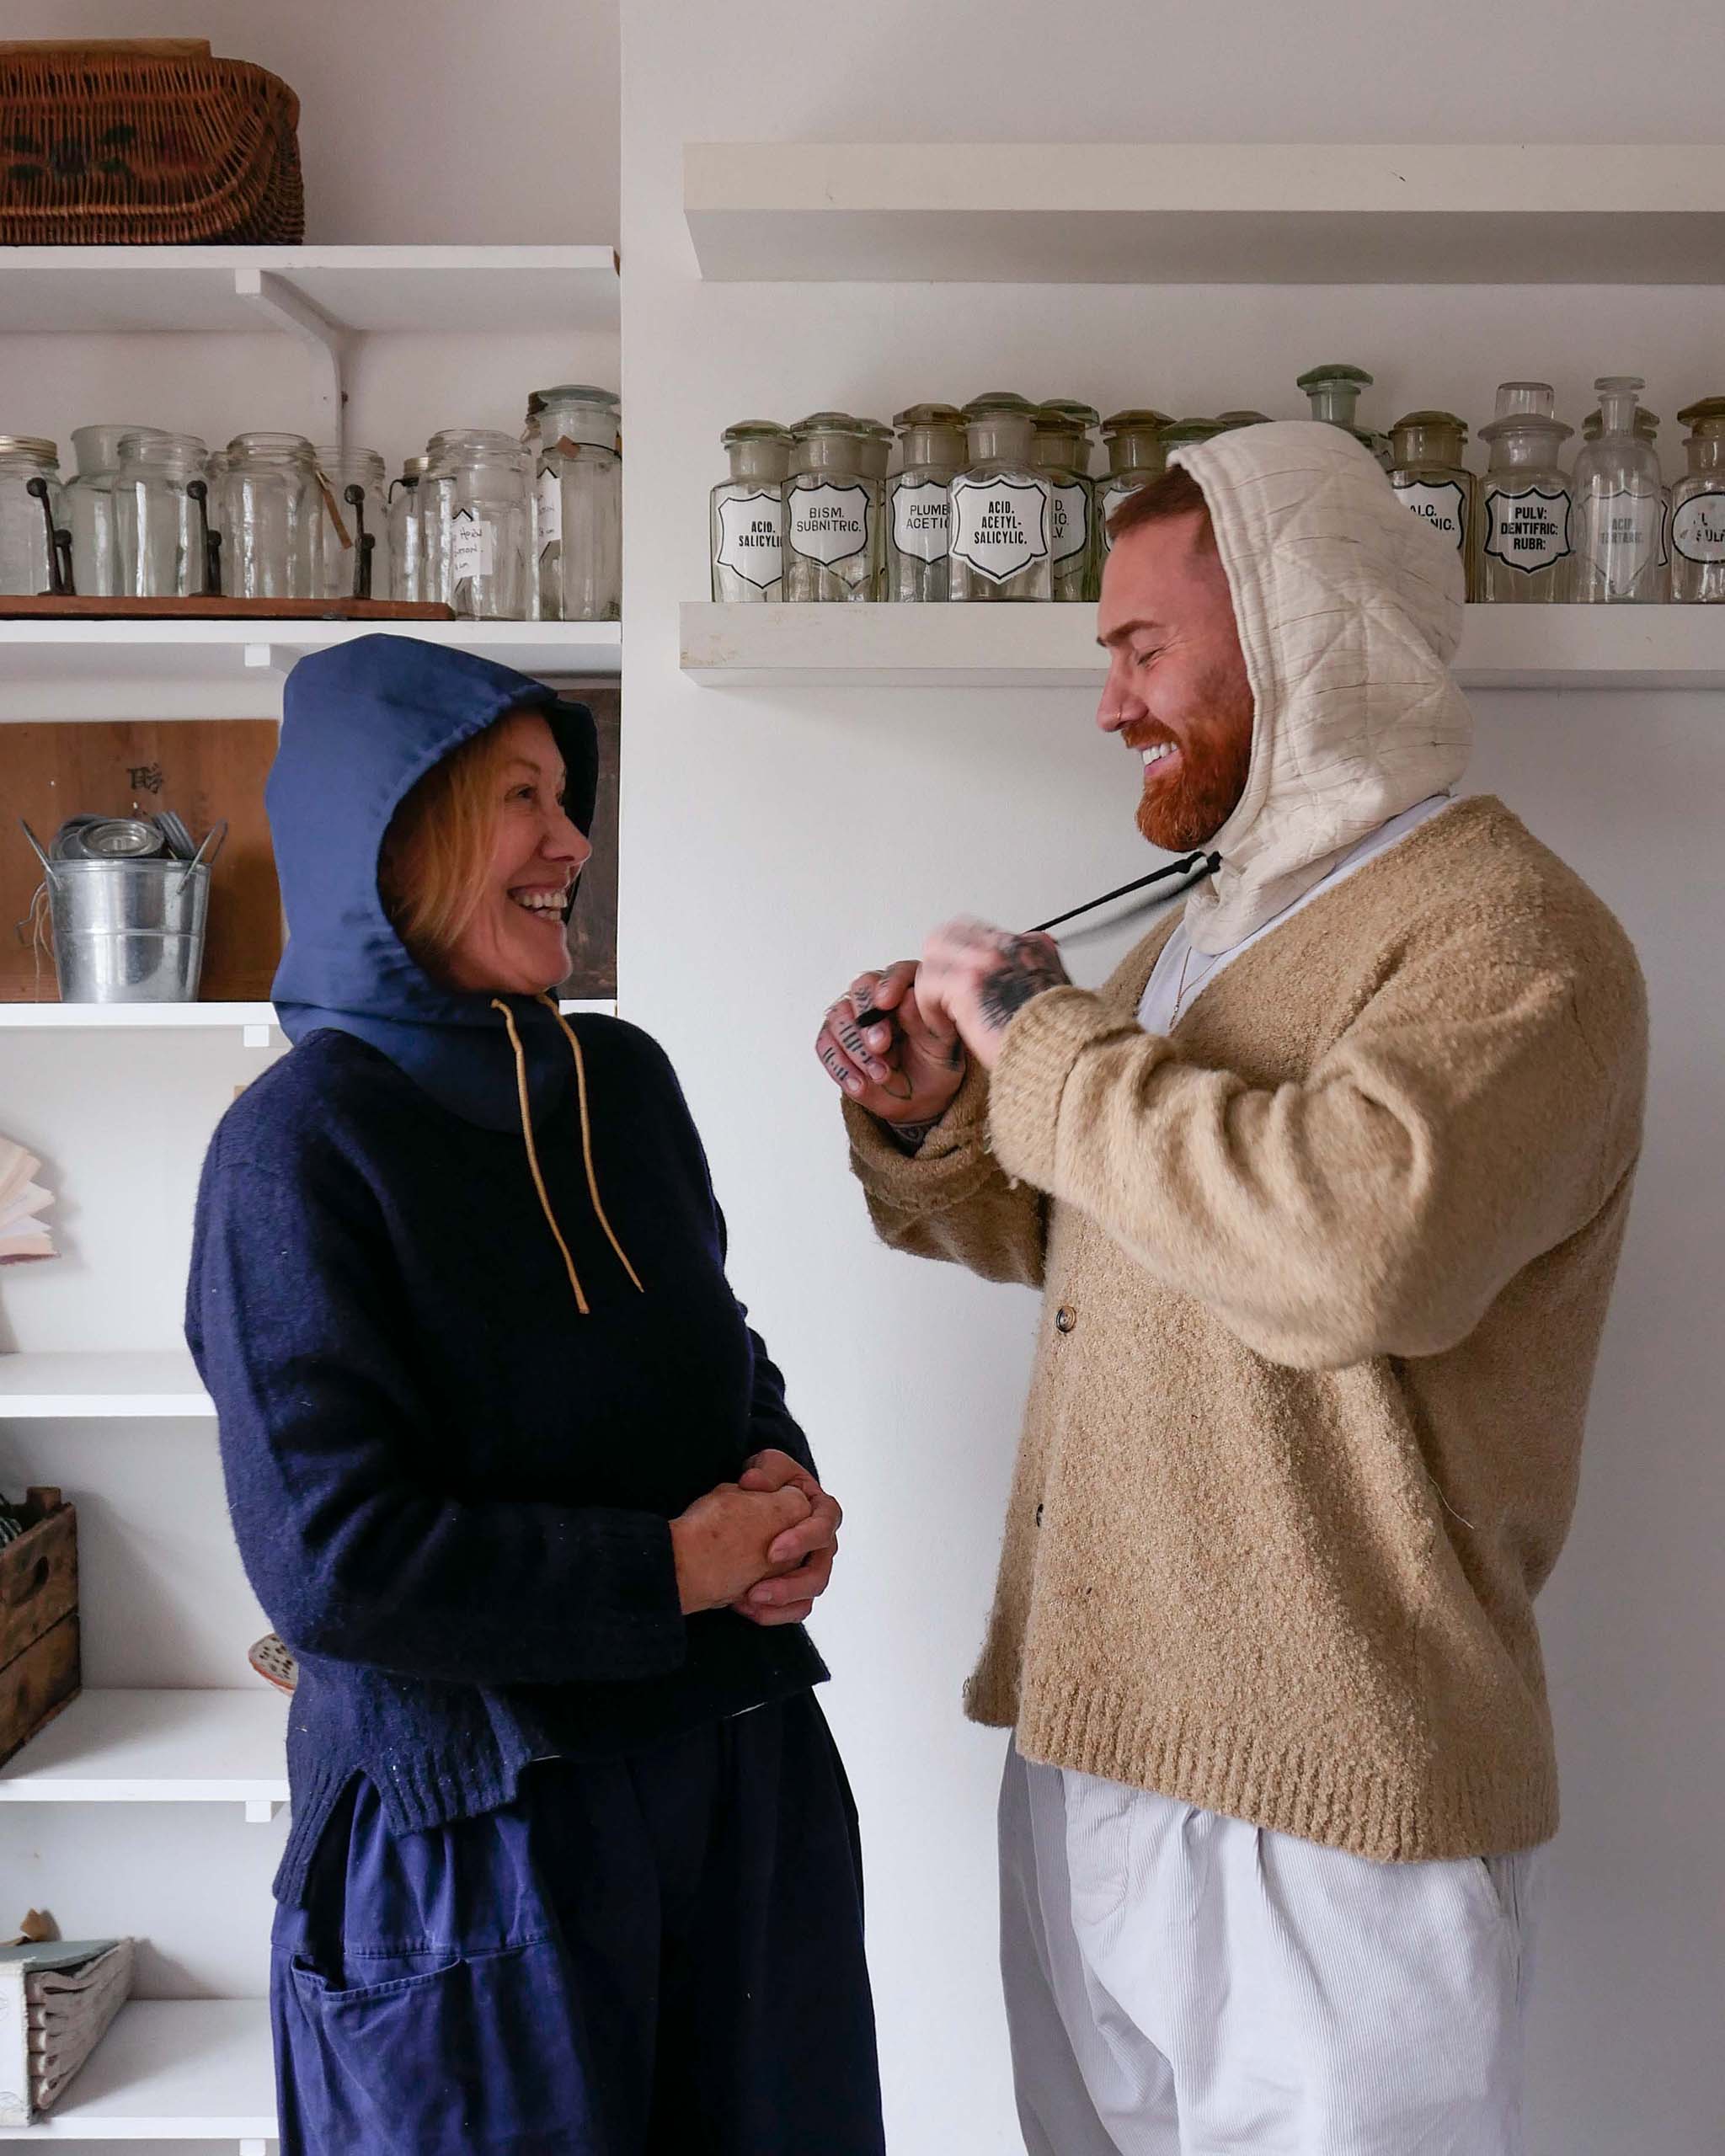
When choosing your fabric, using a knitted fabric is popular as it offers some stretch, but woven & non-stretch fabrics still work well too. Pick a medium to heavyweight fabric to make a warmer hood, just make sure the fabric isn’t too stiff. In the photo above Toby (right) is wearing the warm Quilt Jacquard Cotton while Niki (left) is wearing the water resistant Bonded Cotton Blue/Green.
The 2 sides of the hood are sewn together using a basic running stitch and the edges are finished with a roll hem, although you could use a blanket stitch for extra decoration. A drawstring is optional, you just need to add an extra 1cm seam allowance around the face opening so the cord can pass through.

Equipment needed
Fabric - 2 pieces approx. 35x45cm
Chalk or pencil
Scissors
Pins for tacking
Thread & sewing machine (or hand sewing needle)
Cord or ribbon for drawstring (optional)
Step 1.
Take 2 pieces of fabric measuring approximately 35x45cm, lay one face up and the other face down on top, so that the two facing sides are together. Using a piece of chalk or a pencil, mark out a hood shape using the measurements in fig.1 (or page 4) to guide you. Then cut out both pieces.

Step 2.
Measure 1cm from the hood edge and, using a basic running stitch, sew the pieces of fabric together as shown in fig.2. You can do this by hand or with a sewing machine. Turn inside out and iron open both seams so that they are flat. You can finish these inside seams either by surging with your machine, covering with a bias binding, or simply hand stitching the hem down flat.


Step 3.
Fold a 1cm hem in the neck opening and a 1cm hem in the face opening (2cm if using a drawstring.) These hems can be machine stitched down using a zigzag stitch, or they can be finished by hand using a rolled hem technique.
To make the rolled hem, start by make one stitch in the hem about 5mm from the raw edge, and then make one stitch in the hood fabric directly below. Continue working along in a crenelation shape, pulling your thread tight every 5/6 stitches to draw the hem closed (see fig.1.)
*Optional - If you want to add a drawstring around the face opening then make this hem slightly wider, around 2cm, to create a channel wide enough for the cord to pass through. Remember to leave an opening in the hem at the chin, so you can thread your cord through the hood (see fig.3.) You may find attaching a safety pin to the end of the cord helps to feed the cord through.

You can print or download our Hood Pattern and PDF Guide to Make Your Own Hood and save this idea for a rainy day.
